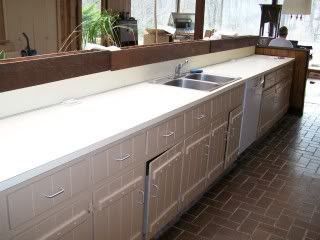
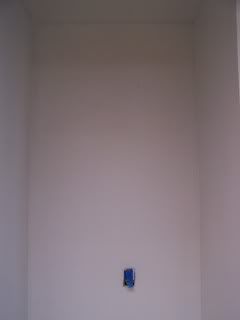
The demo started Thanksgiving weekend when the entire range wall was ripped out down to the studs. Sadly I forgot to take photos of the exposed bathtub and the vent stack that required the wall to have a slight hump. Because I couldn't figure out how to deal with the backsplash when it got to the fridge, we just built a new wall to make a fridge alcove. We lost maybe 6" of base cabinets, but would get a nice deep cabinet over the fridge in return . . . and a nice clean look.
Drywall was hung in the kitchen with care, in hopes that new cabinetry soon would be there.
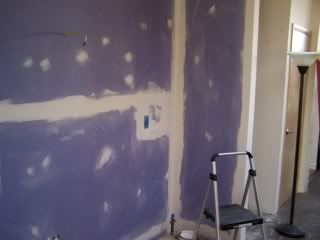
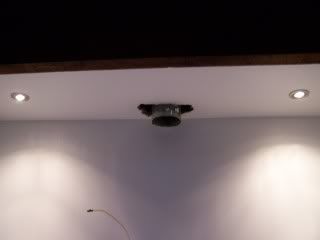
New pot lights do shine out their lumens so bright, the Mister ecstatic about seeing at night!
Fridge alcove:
I had my appendix out on December 20 (clearly not figured into the construction schedule) and hunched my way through the holidays, accomplishing little but the loss of 7 pounds - excellent! Christmas weekend we got the cabinets installed on the range side and giddy like kids wearing new shoes out of the store, we had to put some of the drawers in to see how the whole thing would look.
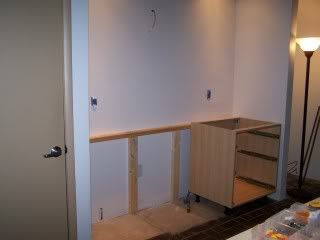
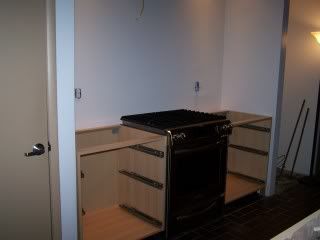
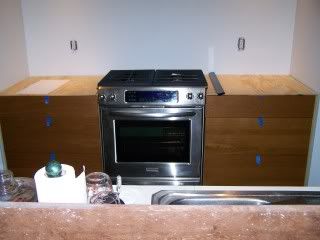
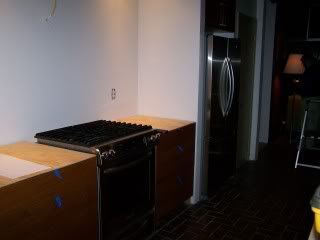
Dad came back up the week after Christmas to help (bless him!) The three of us wrestled the over-fridge cabinet into place, and the range and fridge went back into their proper locations. (Trim above and below fridge cabinet not yet in place).
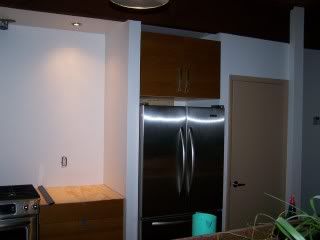
Then we got started on the long side of the kitchen.
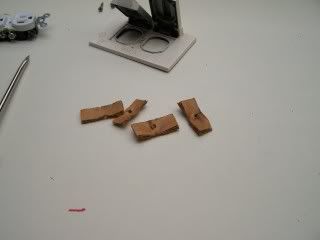
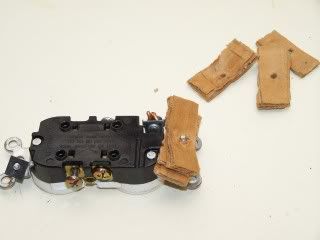
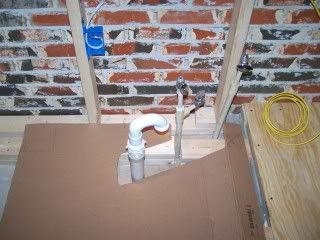
Note the state-of-the-art cardboard spacers used on the original electrical. I used to think this house was someone's Eagle Scout project. Now I'm thinking more Webelos.
Dad and Mister then started to take off two courses of brick.
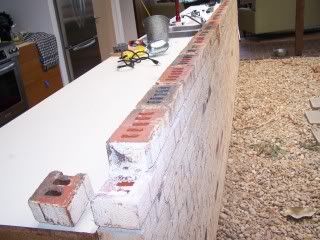
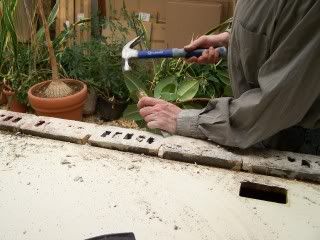
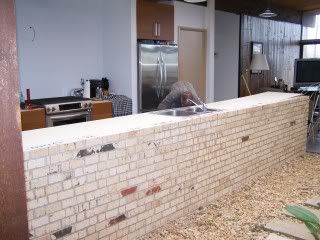
Losing the backsplash was a tough decision. We knew we wanted to keep the existing brick wall -- it matches the fireplace and exterior brick, and it's just pretty darn cool. But we wanted to keep the wiring to code, which meant there had to be a change from the existing countertop outlets. Too much trouble to try to hollow out the brick to make room. Thought about building a wall in front of the brick wall to accomodate the wiring and outlets. But in the end we decided to go with the clean look of a flat countertop and just put the outlets on the ends.
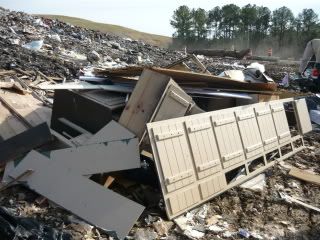
The cabinets couldn't be saved. And no craigslist/freecycle takers for the intact cabinets from the range side, so . . . hasta la vista, baby.
And what did we find underneath? Well, a trough, of sorts. The cabinets were on a frame that sat down inside this hole in the floor.
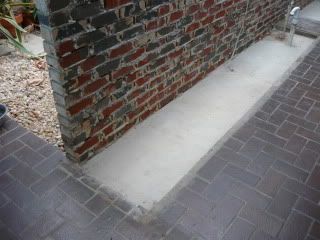

Now, the cabinets on the range side sat on the floor -- novel idea, that. But this hole (an island for the dishwasher notwithstanding) was perplexing. What to do? Turn it into a water feature? Fill in with concrete? Who wants to deal with that -- we've got a kitchen to finish here! The decision was made to fill in with more lumber just where the cabinet legs would rest.
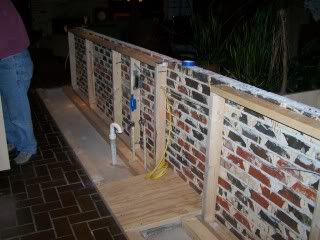
Then construction of the 2 x 4 wall which (1) provided support for the brick, (2) allowed the cabinets to be screwed into something and (3) gave us a deeper countertop.
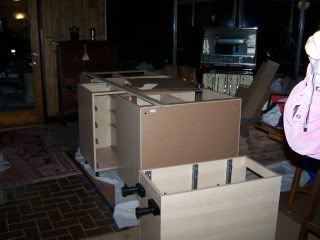
I built cabinets while they constructed. I can do it in my sleep, thankyouverymuch. I highly recommend power screwdrivers for cabinet assembly. Your wrists and elbows will thank you.
Note creative cardboard template for effecting sink cabinet plumbing cutout.
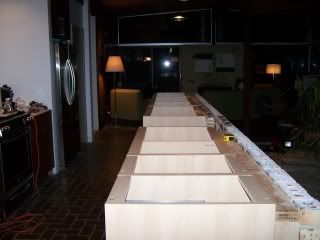
Then came the lining up, leveling, attaching, leveling, tweaking, leveling, shifting, leveling . . .
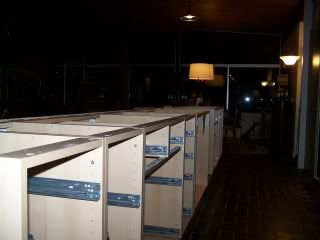
Countertop was ordered on 12/31 (military discount -- ask for it!) but my analysis paralysis as to seam location delayed it a week. Then fabrication issues delayed it a week. Then . . . well, it's still not here, but I'm hoping it is by the end of next week. Do you have any idea how hard it is to wash a crock pot in a bar sink? But the flip side to that is, do you have any idea how grateful I am for a somewhat smarmy circa 1978 wet bar with said tiny bar sink?
A shot of the only member of the family who managed to stay well-rested during this ordeal:

Stay tuned for the final reveal. Until then, here is a shot of the eventual final look, in 3-D thumbnail form (IKEA Nexus yellow-brown cabinets, Sendai silk tile, Zodiaq Papyrus quartz):
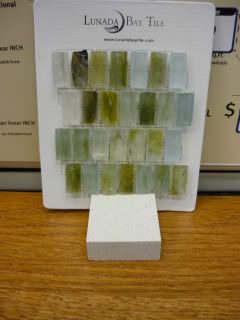
Stay tuned!
Everything looks beautiful. Congratuations!
ReplyDeleteTake Care,
Patricia D Todd
Woohoo!! Can't wait to see the finished product!
ReplyDeleteLooking forward to the big reveal. I know it's going to be fantastic. Those tiles are gorgeous.
ReplyDelete